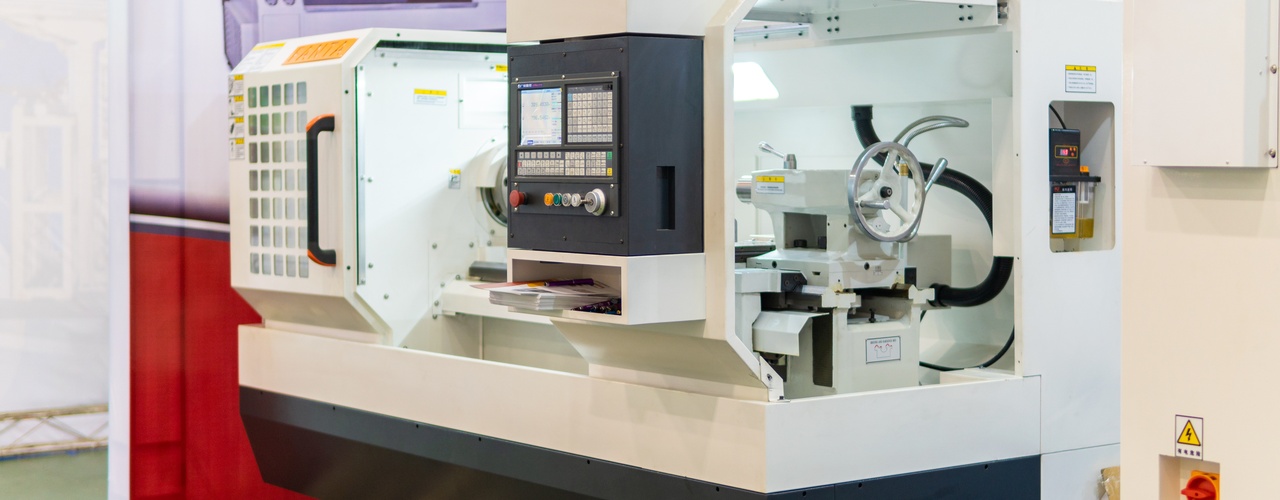

Few grinding problems frustrate operators as quickly as chatter. A machine may hold size, the wheel may look sound, and the program may run without alarms, yet the finished part still shows repeating waves or bands. Those marks can ruin an accurate component and force the shop to slow production while technicians search for the source.
Chatter develops when vibration enters the grinding process and repeats across the workpiece surface. The vibration may originate from the wheel, spindle, fixture, workpiece, machine structure, or cutting conditions. Several small issues can also combine to create a larger problem. A clear troubleshooting process helps teams identify the cause without changing every variable at once. Continue reading to explore the common causes of chatter in CNC grinding.
Recognize the Pattern
Chatter usually produces evenly spaced lines, waves, or shadows across the ground surface. Operators may also hear a pulsing hum or feel vibration through the enclosure. The pattern can run along the part, wrap around a diameter, or change as the wheel moves through the cut.
The spacing offers useful clues. A pattern that repeats with wheel rotation may indicate wheel imbalance or runout. Marks that vary with spindle speed may suggest resonance. Chatter near the unsupported end of a long workpiece often indicates weak support or part deflection.
Record where the marks begin and which operating conditions make them stronger. Those details can narrow the search quickly.
Check Wheel Balance
An unbalanced grinding wheel creates a rotating force that travels through the spindle and machine structure. Even a small imbalance can produce visible marks at high wheel speeds. The problem may worsen after wheel changes, dressing cycles, coolant absorption, or uneven wear.
Inspect the full wheel assembly, including the flange, hub, adapter, and mounting surfaces. Clean all contact surfaces and remove any trapped grit before mounting the assembly. Follow the wheel and machine manufacturer’s procedures for static or dynamic balancing.
Proper balance can reduce vibration, extend wheel life, and improve surface finish quality. Recheck balance after major dressing changes or whenever operators notice a new vibration pattern.
True and Dress Correctly
A balanced wheel can still chatter when it runs out of true. Truing restores the wheel face so it rotates concentrically with the spindle. If the wheel face rises and falls, the high area contacts the part more aggressively, creating a repeating force.
Dressing controls wheel sharpness and surface texture. A dull wheel rubs rather than cutting freely, increasing grinding forces. An overly open wheel face may cut inconsistently and leave a rough pattern.
Inspect the dresser’s condition, position, and parameters. A worn diamond, loose holder, excessive dressing depth, or fast traverse can leave an unstable wheel face. Use light, controlled passes and confirm runout after truing. Monitor grinding power after dressing, as a rapid increase may indicate loading or glazing.
Match the Wheel
The wrong wheel specification can make a stable setup behave poorly. A bond that holds grains too tightly may let the wheel glaze when the application needs stronger self-sharpening. A wheel that releases grains too easily may wear quickly and lose form.
Consider abrasive type, grit size, grade, structure, and bond. Hard workpiece materials, interrupted cuts, wide contact areas, and high stock removal rates place different demands on the wheel. One specification cannot deliver ideal results across every material and geometry.
Review recent changes when chatter appears suddenly. A replacement wheel may share the same dimensions while using a different grade or structure. Confirm the complete specification instead of relying on wheel size alone.
Adjust Speeds Carefully
Wheel speed and workpiece speed influence vibration frequency in the grinding zone. Certain speed combinations can align with a natural frequency in the machine, wheel, fixture, or part. Small vibrations can then grow into visible chatter.
Change one speed at a time and use controlled increments. A modest wheel-speed adjustment may move the process away from resonance. A workpiece-speed change can alter the spacing and severity of chatter marks.
Stay within approved operating limits. Never exceed the maximum wheel speed, and follow manufacturer guidance before changing spindle settings. Record successful speed combinations for repeat jobs.
Reduce Grinding Force
Aggressive cutting conditions can excite vibration even when the machine remains mechanically sound. Excessive infeed, high traverse speed, or a wide contact area can raise grinding force beyond the setup’s stable range.
Reduce the depth of cut or feed rate in small steps. Add a roughing pass rather than forcing the wheel to remove too much material at once. Allow enough spark-out time for the wheel to remove high spots without additional infeed.
Change one parameter at a time. A controlled change shows whether grinding force drives the problem. Once the chatter fades, operators can optimize cycle time without crossing the stability limit again.
Strengthen Workholding
A flexible workpiece can vibrate between the wheel and the fixture. Long shafts, thin walls, narrow features, and parts with uneven mass require careful support. Loose centers, worn chucks, weak magnetic holding, or poor contact surfaces can also allow movement.
Inspect the fixture for damage, contamination, and looseness. Clean the locating surfaces and confirm that the clamps apply steady force without distorting the part. Use a steady rest, tailstock, or additional support when the geometry requires it.
Keep tool and part overhang as short as the process allows. Extra unsupported length lowers rigidity and gives vibration more room to grow.
Inspect the Machine
Mechanical wear can turn a reliable process into an unstable one. Check spindle bearings, slides, guideways, couplings, belts, ball screws, and dressing equipment. Look for looseness, abnormal heat, noise, or changes in axis motion.
Verify machine leveling and foundation condition. A loose anchor or uneven base can reduce structural stability. Nearby presses, compressors, forklifts, or other grinders can also send vibration through the floor.
Run the spindle without cutting and monitor vibration across the speed range. If vibration appears before wheel contact, focus on the wheel assembly, spindle, drive system, or machine structure.
Improve Coolant Delivery
Coolant supports stable grinding by controlling heat, lubricating the contact area, and clearing chips. Poor nozzle alignment can cause the air barrier around the wheel to deflect the coolant stream. Inconsistent flow can alter grinding forces throughout the cut.
Aim the nozzle at the grinding zone and maintain steady flow and pressure. Clean clogged lines and inspect filters for restrictions. Dirty coolant can carry chips back into the contact area, disrupting the wheel’s cutting action.
Temperature changes can alter machine geometry and part size. Keep coolant temperature stable, especially during long production runs or tight-tolerance work.
Troubleshoot in Order
Start with the simplest checks. Inspect the part pattern, wheel condition, mounting surfaces, balance, and runout. Then review dressing, speeds, feeds, workholding, coolant, and machine condition.
Change one variable and document the result. Random adjustments can hide the original cause and create new problems. Use vibration data, spindle load, surface measurements, and operator observations to compare each trial.
Once the process runs smoothly, record the wheel specification, dressing settings, speeds, feeds, coolant conditions, and fixture details. Good records shorten future setup time and help operators recognize early warning signs.
Restore a Stable Grind
CNC grinding chatter will happen, and it rarely disappears through guesswork. The problem leaves clues in the surface pattern, sound, vibration frequency, wheel condition, and process data. Operators who read those clues can separate wheel problems from setup, parameter, coolant, and machine issues.
Start with balance and truing, then move through dressing, wheel selection, speeds, grinding force, workholding, and mechanical condition. Keep each test controlled and document every useful result.
A stable grinding process produces more than a cleaner finish. It protects the wheel, reduces scrap, supports tighter tolerances, and gives the team greater confidence in every cycle. Careful troubleshooting turns chatter from a recurring mystery into a manageable process problem.