
A beautiful woodworking project deserves more than accurate cuts and sturdy construction. The smallest details often determine whether a finished piece looks professional or unfinished. Smooth edges create a refined appearance that complements the natural character of the wood.
Even experienced woodworkers encounter rough surfaces that require additional attention. Fresh cuts can expose uneven fibers and leave marks that become more noticeable beneath a protective finish. Without proper preparation, these imperfections can affect the appearance of an otherwise carefully constructed piece.
Smoother edges do not necessarily require expensive equipment or complicated techniques. The secret to smoother edges on woodworking projects comes from understanding how wood responds to abrasion and applying the correct amount of pressure. A thoughtful approach helps preserve the original design without unnecessary material removal.
Understand How Wood Grain Influences Edge Quality
Every piece of wood has a distinct grain structure that affects how its surface responds to abrasive materials. Some species develop a smooth texture with minimal effort, but others require additional care. The natural direction of the fibers plays an important role in the final appearance.
Woodworkers should examine the grain before they begin surface preparation. Abrasion against the grain can leave scratches that become visible beneath a clear finish. Careful movements help preserve the natural appearance of the wood without unnecessary damage to its surface.
Choose Sandpaper That Matches the Surface Condition
Not every wooden edge requires aggressive abrasion. A relatively clean cut may need only minor refinement to achieve the desired texture. The condition of the surface should determine the abrasive rather than a fixed approach for every project.
Coarse sandpaper can remove noticeable imperfections, but it may also leave deeper scratches. Finer abrasives gradually refine the surface and help eliminate marks from previous passes. A smooth transition between grit levels produces a more consistent appearance without excessive material removal.
Apply Gentle Pressure for Greater Control
Excessive pressure can change the shape of an edge before the woodworker notices the difference. This problem becomes especially noticeable near corners where the abrasive has less surface contact. Uneven force can leave unwanted curves across areas that should maintain a straight profile.
A lighter touch offers better control over the amount of wood removed. The abrasive should move across the surface without excessive force or sudden changes in direction. Consistent pressure helps preserve the intended dimensions and creates a more uniform texture.
Use a Sanding Block to Refine Straight Edges
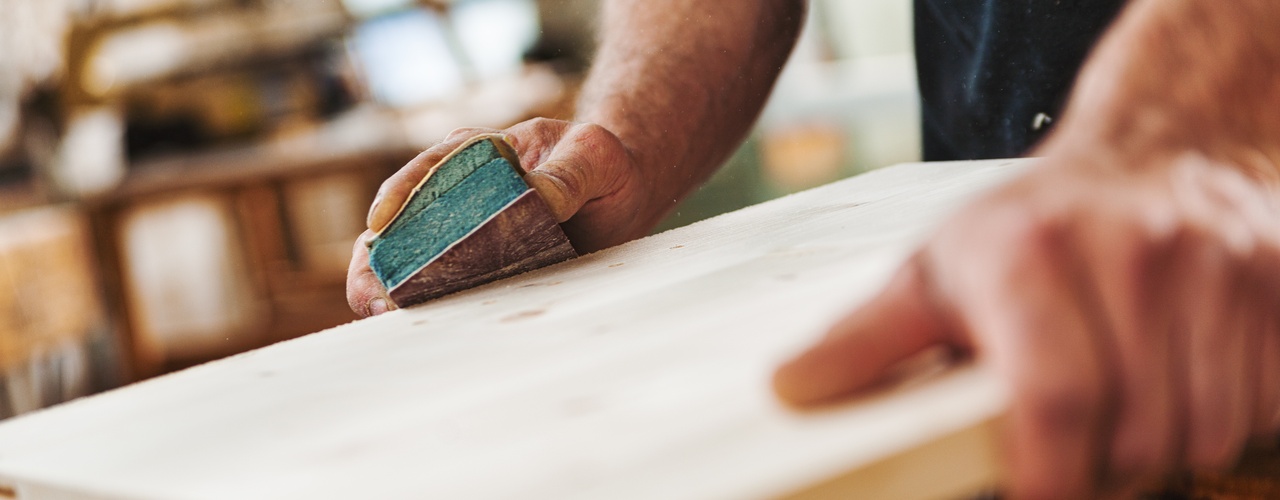
Loose sandpaper can bend around the edge of a wooden surface and remove material unevenly. A firm block provides stable support that helps maintain contact across the intended area. This additional control becomes particularly valuable on furniture components that require precise, straight edges.
Learning how to make a DIY sanding block with a belt and contact cement will help woodworkers create a practical tool for precise edge preparation. The firm support helps distribute pressure across the abrasive surface without unwanted movement. Proper adhesive application and adequate cure time are necessary to maintain the integrity of the completed tool.
Preserve the Original Shape of Wooden Corners
Corners deserve careful attention because their limited surface area makes them vulnerable to excessive material removal. Aggressive abrasion can transform a precise corner into an uneven curve. Even a small difference may become noticeable when several components meet within the same project.
Some designs benefit from a subtle radius that creates a comfortable transition between surfaces. However, the amount of material removed should reflect the intended appearance of the finished piece. Careful control allows each corner to maintain a consistent profile without unnecessary alterations.
Follow the Natural Direction of the Grain
Abrasive strokes influence the final appearance of wooden edges. Movements across the grain can leave visible scratches that become more apparent after finish application. Following the natural fiber direction generally produces a cleaner texture with fewer noticeable marks.
Curved edges require additional care because the grain may change direction across the surface. Short, controlled strokes allow the abrasive to follow the original contour. Woodworkers should adjust their movements to the shape of the material rather than force the surface into an unnatural profile.
Examine the Surface Before Further Refinement
An edge may appear smooth at first glance despite small imperfections that remain beneath the surface. Raised fibers and shallow scratches can become more noticeable after a protective finish reaches the wood. A careful inspection helps identify these defects before they affect the final appearance.
Directional light can reveal subtle variations that ordinary room light may conceal. A gentle touch also helps detect rough areas that deserve additional attention. Targeted corrections preserve the surrounding surface and reduce unnecessary abrasion across sections that already meet the desired standard.
Keep Abrasive Materials in Good Condition
Worn sandpaper can make edge preparation more difficult than necessary. As abrasive particles lose their effectiveness, the material requires additional pressure to remove imperfections. This can create uneven surfaces and increase the risk of accidental damage.
Wood dust can also accumulate across the abrasive surface and interfere with consistent contact. Regular inspection helps determine when replacement becomes necessary. Fresh materials allow woodworkers to maintain greater control and produce predictable results throughout the preparation process.
Prepare Every Edge Before Applying a Finish
A smooth wooden edge requires careful preparation before paint, stain, or a clear protective coat reaches the surface. Small scratches can become more visible once the finish emphasizes the natural texture of the wood. Proper refinement helps create a uniform appearance across adjacent surfaces.
Dust removal deserves equal attention because loose particles can affect the final texture. A clean surface allows the selected finish to adhere according to its intended application requirements. Woodworkers should examine the prepared edges carefully before they proceed with the final coat.
Develop a Consistent Approach to Edge Preparation
Professional results depend on a reliable method rather than occasional adjustments made without a clear purpose. Woodworkers who understand how different materials respond to abrasion can make better decisions throughout each project. Experience helps them recognize when additional refinement is necessary and when the surface already meets expectations.
Consistency becomes particularly important when several wooden components must share the same edge profile. Small variations can disrupt the appearance of a completed furniture piece. A deliberate approach allows each component to complement the overall design without unnecessary corrections.
The difference between an ordinary woodworking project and an exceptional one often comes down to the quality of its final details. Understanding the secret to smoother edges on woodworking projects allows woodworkers to create pieces that reflect precision and professional craftsmanship. Each carefully refined edge enhances the overall appearance without detracting from the natural beauty of the wood.
A flawless finish begins with the care invested before the final coat ever touches the surface. Even simple tools can produce remarkable results when paired with patience and a thoughtful approach. With consistent practice, woodworkers can transform rough edges into elegant details that give every completed project a polished, professional appearance.