By Shelley Balls, MDA, RD, LD
UW Extension – Nutrition and Food Safety Educator
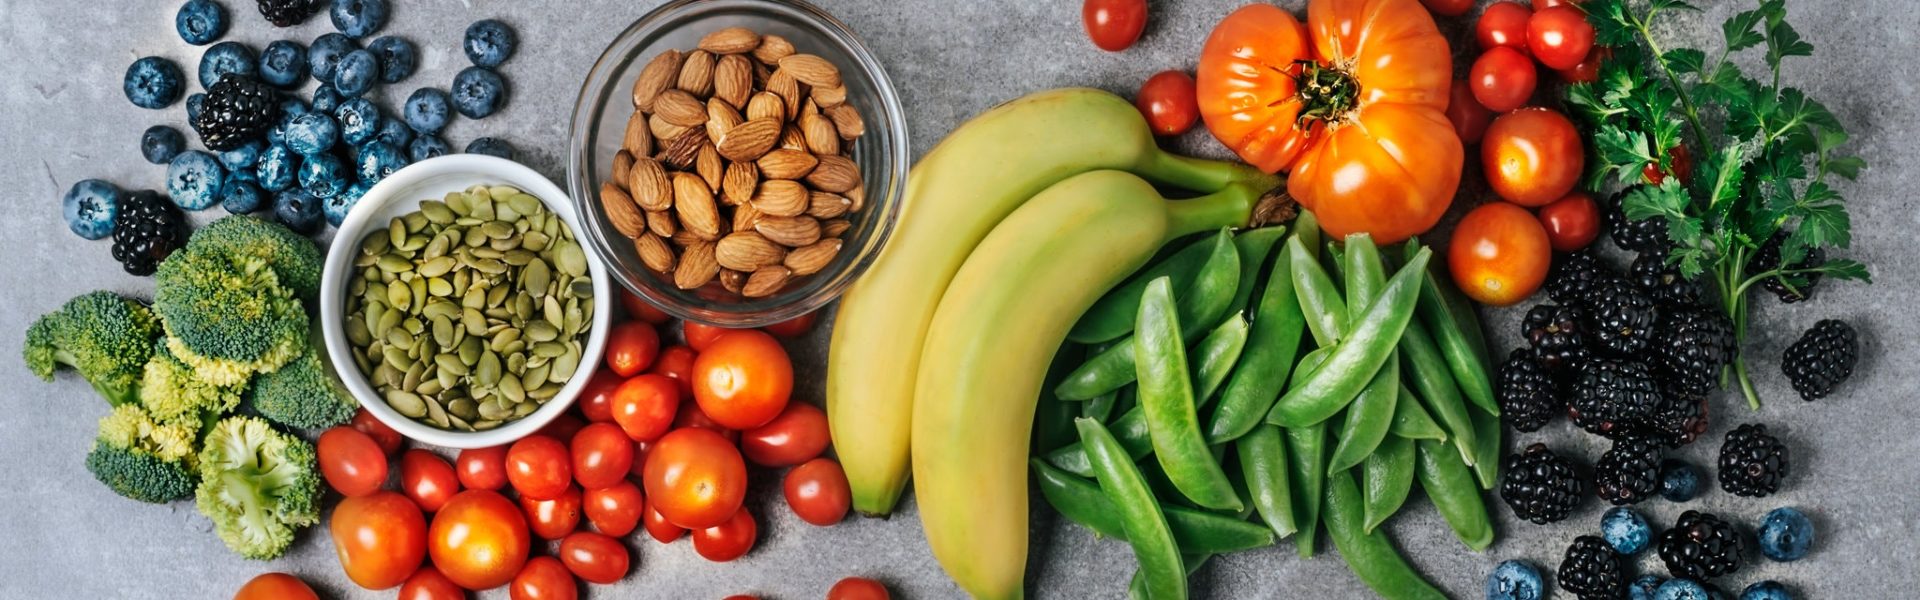
Summer brings an abundance of fresh produce, sometimes so much that you don’t know what to do with all of it!
You probably enjoy the fresh garden tomatoes, but you can only use so many before they spoil. What better way to extend the amount of time you’re able to enjoy your fresh foods than with food preservation?
There are many methods that you can use to preserve food, but they all have one thing in common, and that is, they inhibit undesired bacterial growth or chemical changes.
Food begins to spoil the moment it is harvested, so food preservation is crucial if you want to enjoy your tasty produce year round. We will briefly discuss each method to give you a better idea of what might work for you and your family.
Freezing: If freezer space is available, this is a great option to preserve your food as it is easy and convenient.
Almost all vegetables will need to be blanched before freezing to stop enzyme actions which can cause loss of flavor, color and texture.
Fruit on the other hand does not need to be blanched before freezing.
Whether its fruit or vegetables choose firm, ripe produce and always wash and drain before freezing.
The faster you can freeze the better when it comes to food quality, so set your freezer to the coldest setting, and do not overload it. For the best freezing results use packaging that is moisture vapor resistant, durable and leak proof, that cannot become brittle and crack at low temperatures, resistant to oil, grease or water, protects foods from absorption of off flavors and odors, easy to seal and mark.
Some items do not freeze well, such as potatoes, milk sauces, and others.
Drying: There are multiple ways to dry foods, such as in the oven, dehydrator, air drying, or even the microwave. There are three requirements in order to properly dry food: low humidity, a source of heat, and air circulation.
Dried foods are susceptible to moisture reabsorption and must be properly packaged and stored. Store dried foods in clean, dry home canning jars, vacuum packaging, and plastic freezer containers with tight-fitting lids or in plastic freezer bags.
Canning: There are two ways to process canned foods and the method used will depend on what the product is that you’re canning.
The boiling water canners are used for high acid foods such as fruits.
The pressure canner is used for low acid foods such as vegetables and meats.
Processing times will need to be adjusted as we live at higher altitudes in Wyoming.
Canning can be intimidating at first, but don’t let that prevent you from using this method of preservation.
Pickling: Pickling is the process of curing foods so that colors and flavors change as acidity increases. When pickling use fresh, firm fruits and vegetables.
Processing the pickles in a boiling-water canner will prevent spoilage from microorganisms and help maintain flavor, color and texture.
Curing: Curing can include the use of salt, sugar, nitrate and/or nitrite to preserve food and add flavor and color. The two cure methods include dry curing, which is when the rub in mixed onto or into food, or dissolved in water such as a brine, wet, or pickle curing.
• Easy Jalapeno Jelly
(Recipe Source: Ball Complete Book of Home Preserving; Yield: about 6 (8 oz.) half pints)
Ingredients:
• 12 oz. (about 12 medium) jalapeño peppers
• 2 cups cider vinegar, divided
• 6 cups sugar
• 2 (3 oz.) pouches of liquid pectin
• Green food coloring, optional
• 6 (8 oz.) half pint preserving jars with lids and bands

Instructions:
Fill canner halfway with hot water, cover, and pre-heat to 180°F (simmering) for hot pack.
Heat canning jars in hot water until ready for use; however, do not boil!
Place flat lids in a small saucepan and bring to a simmer over low heat until ready to use – do not boil. Set bands aside.
Puree peppers in a food processor or blender with 1 cup cider vinegar until smooth. Do not strain purée.
In a large stainless-steel saucepan, combine purée with the remaining 1 cup cider vinegar and sugar. Bring to a boil over high heat. Boil 10 minutes, stirring frequently.
Add liquid pectin, immediately squeezing entire contents from pouches. Continue to boil hard for 1 minute, stirring constantly. Remove from heat. Add food coloring, if using, and skim foam if necessary.
Ladle hot jalapeño jelly into hot jars one-at-a-time, leaving ¼ inch headspace. Remove air bubbles with a straight spatula. Wipe jar rim/threads using a clean damp cloth/paper towel to remove any food residue. Center the lid on jar. Apply band until fit is “fingertip” tight.
Place jars in canner rack and lower rack into water. Make sure 1-2 inches of water covers jars, add more hot water if necessary. Place lid on the canner and bring to a full rolling boil. Once at a rolling boil, set timer and begin processing time. Process in a boiling water canner for the appropriate time according to the altitude chart.
Once processing time is complete, turn off the heat, remove the canner lid, and wait 5 minutes before removing jars.
Remove jars from canner without tilting and set upright on a towel with 1 inch space between jars to prevent jar breakage. Leave jars undisturbed for 24 hours. Do not re-tighten bands or push on the center of lids!
Check lids for a good seal after 24 hours. The lid should not flex up and down when the center is pressed. If it does, refrigerate the jar and use food within two days.
Remove bands. Clean the jars, label, and store in a cool, dry, dark place. For best quality, consume within one year.
For a hotter jelly, tie the seeds in a square of cheesecloth. Add with the sugar and cook as directed. Discard the bag just before adding the pectin.